Overview
Black and white image files are used by the Lumen X+ to separate 3D models into stacks of horizontal layers.
It improves a variety of applications, including macroporous structures, cell-filled hydrogels, and microfluidics.
Image Credit: CELLINK
Image Credit: CELLINK
Each image is projected onto a droplet of liquid PhotoInk™ on a polydimethylsiloxane (PDMS) vat using an industrial-grade visible-light projector.
The illuminated areas respond and solidify, and the build platform then lifts and clears the cured layer to make room for more liquid PhotoInk to be cured with the following image.
Key features
Details like never before
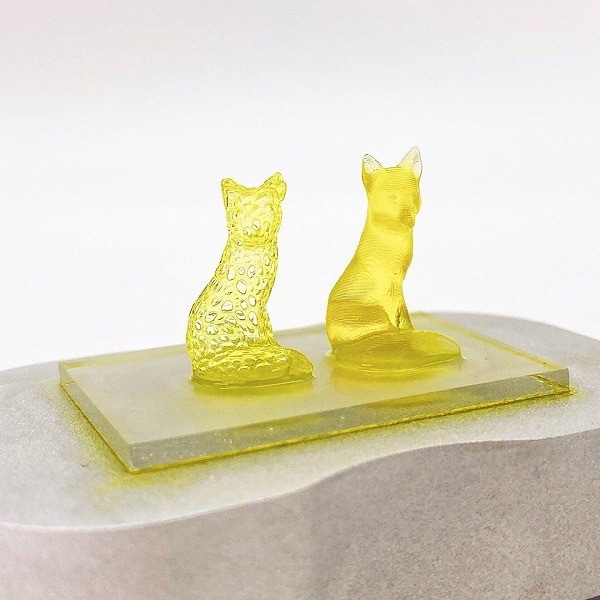
Image Credit: CELLINK
- High resolution and reliable printing are made possible by the Lumen X+’s feature resolution of 50 µm and compatibility with a variety of materials.
Work smarter, not harder
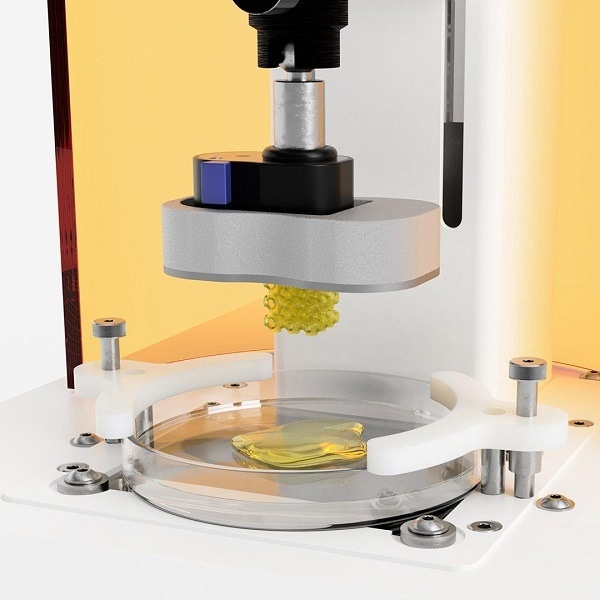
Image Credit: CELLINK
- By crosslinking layers in as little as 10 seconds, the Lumen X+ enables high-speed light-based bioprinting.
More efficient microfluidics and organ-on-a-chip workflows
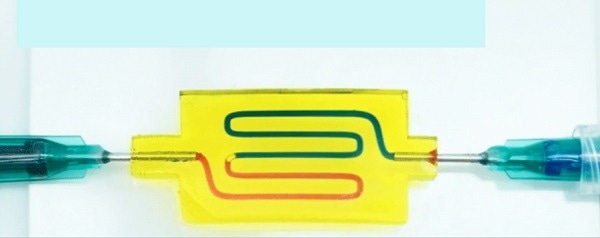
Image Credit: CELLINK
- For applications requiring embedded cells, fluid absorption, and bulk solute exchange with channels as small as 150 µm, direct-printed microfluidic hydrogels from the Lumen X+ can be used in addition to or in place of PDMS.
- Users will never have to struggle to simulate fluid exchange, cell adhesion, or water retention within the device or deal with laborious and time-consuming PDMS prototyping.
- The Lumen X+ is the ideal partner for the quick manufacture of microfluidic channels and organ-on-a-chip devices, thanks to its speed, resolution, and biocompatible PhotoInks.
Unlock complexity
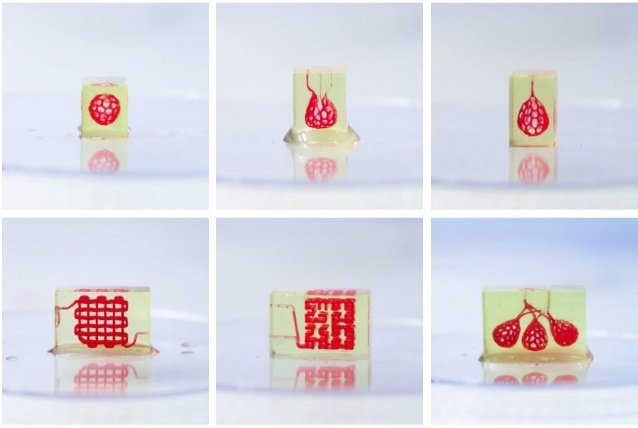
Image Credit: CELLINK
- The potential for developing treatments that are unique to each patient lies in 3D-printed scaffolds. To precisely tailor porosity and mechanical properties in all dimensions, the Lumen X+ can construct scaffolds similar to trabecular bone polyhedral lattices.
Applications
Design
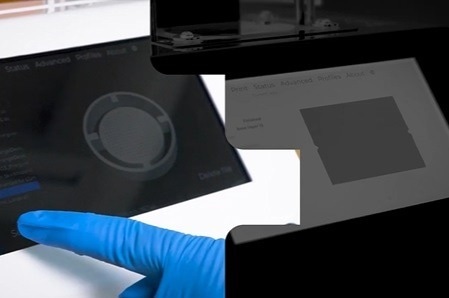
Image Credit: CELLINK
- Create the specific model in the CAD program of preference that can be exported to a .stl file. Additionally, CELLINK provides a variety of .stl files to the Bioverse community.
Prepare
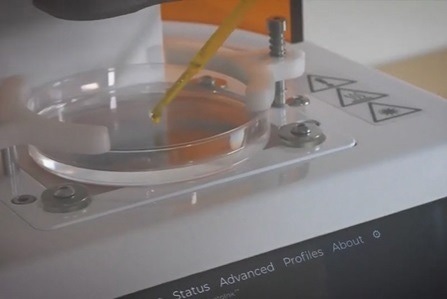
Image Credit: CELLINK
- Choose the .stl file that the users would like to print, then carefully navigate the software’s tabs. Layer construction will be done automatically by the printer. The quantity of PhotoInk required for the design will be determined in the final step.
Print
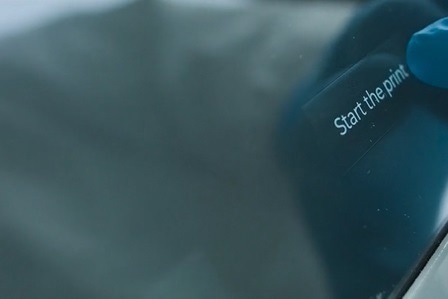
Image Credit: CELLINK
- Select Start Print and feel satisfaction. The Lumen X+ will predict how long it will take to finish printing after the first layer has been printed.
Post printing

Image Credit: CELLINK
- The construct should be taken off the printing platform and cleaned in a water bath. Depending on the needs, keep the construct in PBS, water, or media.
Photoink tailored for user’s applications
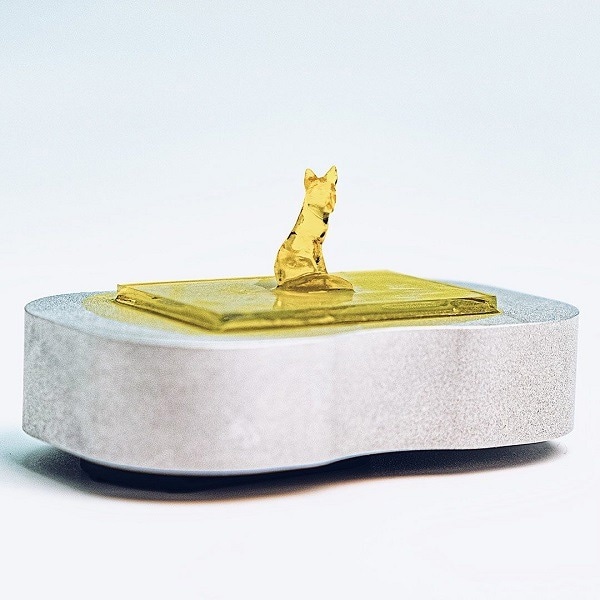
Image Credit: CELLINK
- When using the DLP (digital light processing) Lumen X+ to 3D bioprint anything from macroporous scaffolds to microfluidic devices, volumetric PhotoInk hydrogels have been optimized for speed, accuracy, and resolution.